Setup
Download the Arduino IDE
The Arduino IDE has a few important controls.
- The check in the top left compiles and verifies the code currently in the view.
- The arrow in the top left compiles and loads the code currently in the view to a connected microcontroller.
- The “Tools” menu has functions to:
- Manage locally installed libraries
- Monitor serial communication between a microcontroller and the host computer
- Select the serial port you would like to communicate with a microcontroller on
When you initially install the IDE and plug in a natively compatible microcontroller, its serial port should automatically be selected as the default when uploading code.
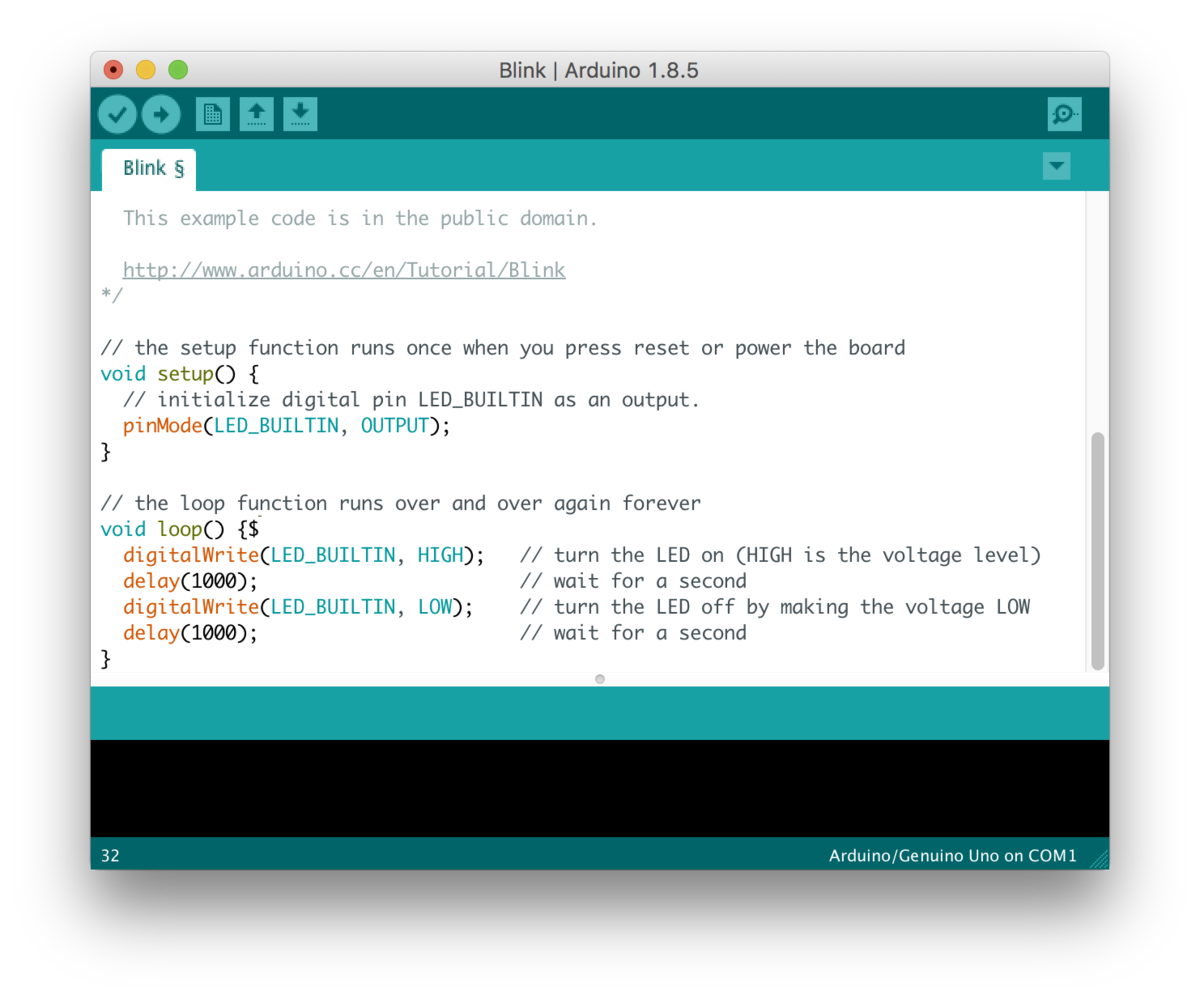
Run the Blink program from File->Examples->Basic and verify that the onboard LED blinks to check that everything is working properly.
If you are using a non native microcontroller, ensure you have proper drivers installed.
Microcontrollers
Developing on microcontrollers is fundamentally different from developing normal programs due to the microcontrollers lack of operating system and thus lack of scheduling, threads, and similar multitasking concepts. So you only get to run one program at a time on your microcontroller.
Because of the lack of a scheduler, all code on microcontrollers is triggered on one of three occasions.
Setup Code
Code run on boot (arduino’s setup function) is run before the main event loop is started. This is typically where all globals, pins and interrupts are setup as well as where any initialization of peripherals (sensors, communication devices, etc) will be.
Main Event Loop
Code run in the event loop (arduino’s loop function) is run on a loop after any setup code. Typically code here is polling or delay driven as it will be run AS OFTEN AS POSSIBLE barring any interrupts. This code can and will be interrupted and as such should not be time sensitive.
Interrupt Driven Code
Code run on interrupts will be run after a physical (pin rising/falling edge) signal and interrupts the currently running code. Interrupts can and should be used to handle transient very short length signals.
Communication
While you can write programs that run only on the microcontroller and only interface with purely digital or purely analog components it’s highly unlikely for more complex projects. There are various modes of communication that can be used both to utilize more complex peripherals (IMUs, sensors, …) as well as relay information back to a host computer for a game or another program to utilize.
Host Communication
There are 3 primary methods of communicating with a host computer that require no extra devices on the host end.
HID
Many microcontrollers will have a built in controller for emulating a HID device for which many computers have built in drivers to handle. HID device formats (mouse, keyboard, gamepad) are typically used to communicate standardized inputs like keystrokes, buttons or axis movement from a device back to the host. These inputs are incredibly easy to both send from the microcontroller (usually just requiring a single setup and one function to send the message) and have default handling routines both in Unity and many other programs.
Alternatively most microcontrollers also support rawHID which will allow you to send arbitrary data using the HID protocol but will need a special driver or processing to interpret.
Serial
The default mode of communication for microcontrollers is often RS232 serial and almost all development boards will include a USB to rs232 controller both for communication to the host and programming. Rs232 is easy to set up and can pass arbitrary data between two devices. Major operating system libraries have easy polling and async functions for handling and sending data over rs232 ports.
To easily communicate over serial to Unity we will use the Ardity Unity package which will handle serial port polling and allow us to use callbacks to handle incoming messages.
Install Ardity by downloading the Unity package at the link above and running it.
IP
If the microcontroller you are using is connected or hosts a local ip network then you can communicate between the host and the device using standard ip based protocols like tcp and udp to send arbitrary data with little specialized configuration.
Peripheral Communication
Peripherals can be communicated with through various means ranging from RS232, SPI and I2C serial protocols to simple digital and analog reading.
Guides for some of the peripherals we have available are listed here: